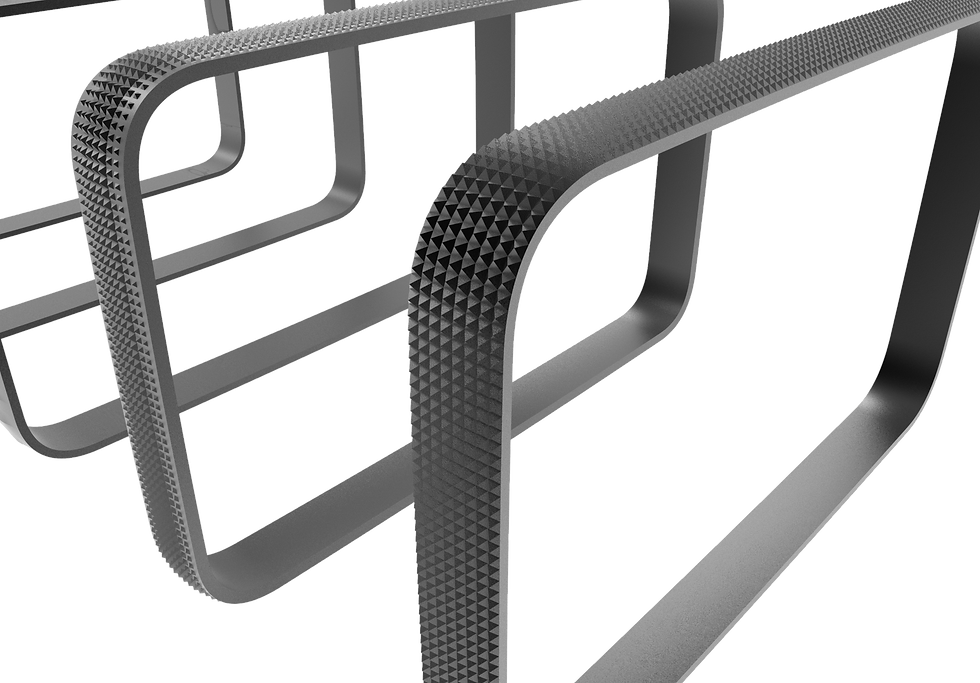
Go with the FLOW
- ray.kuo

- Jun 4, 2021
- 1 min read
Updated: Jun 4, 2021

There are many ways to build 3d textured patterns, from complex to simpler ones. There are also a variety of plug-ins for Rhino3d, a very popular one being Grasshopper, a powerful editable pattern building tool that comes with a very high learning curve. Depending on the complexity of the pattern you intend to build, for the most part Rhino3d’s own original set of tools are still up to the task.
The tool that I will introduce is called ‘Flow along Surface’. The idea here is to ‘map’ an already built texture onto a predetermined surface. Let’s take a tyre as an example. In the picture below, the slick (bald) tyre is the surface you are mapping the texture onto. After applying the 'flow along surface' command you get a treaded tyre. The treads on the tyre represents the pattern you used to map with.

Where to find the tool


How to use it

Have 3 items ready. (1) Target surface (2) Base surface (3) Objects to flow along

Step 1: Select objects to flow along a surface.

Step 2: Base surface – select edge near a corner

Step 3: Target surface – select edge near matching corner

Objects (pattern) mapped onto target surface
** The main limitation depends on your target surface curvature. As its curvature becomes more complex, its harder to create a base surface that is accurate to map with. In turn, this affects the accuracy of your mapped pattern.
DVR application

Taking the yellow highlighted surface as reference, let's look at some examples below.


Putting the model into Keyshot:


Comments